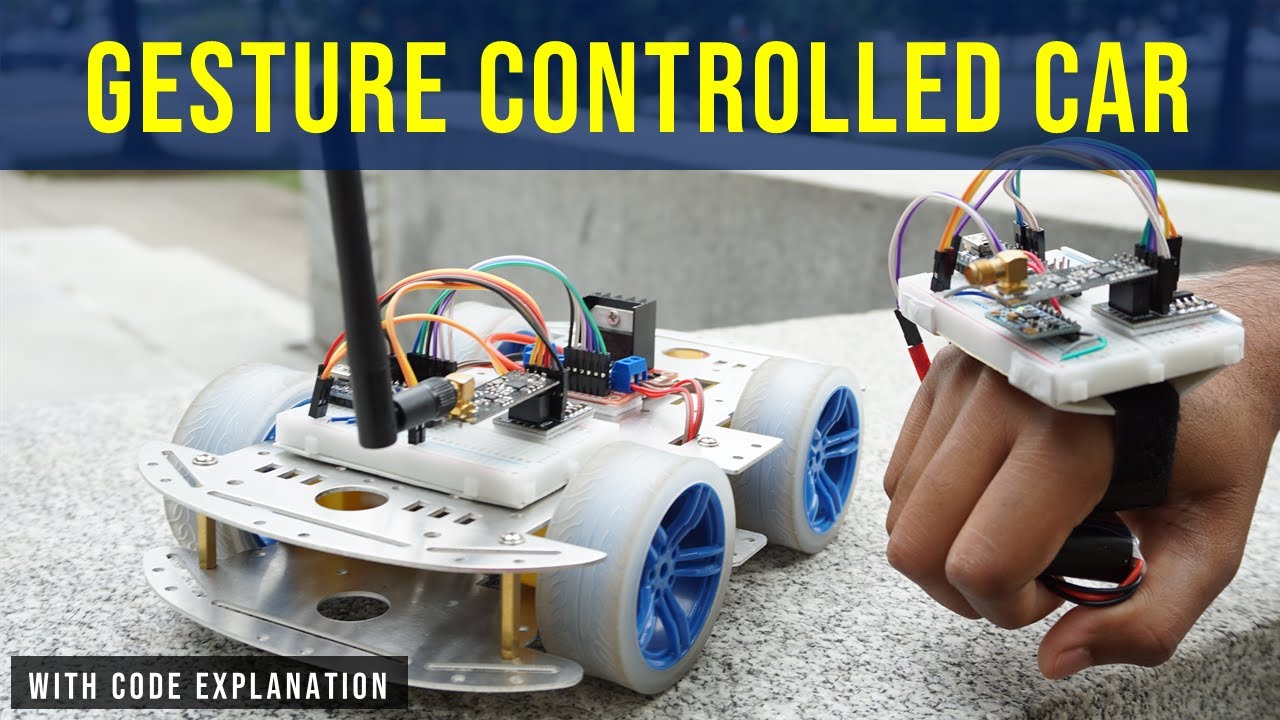
Controlling a robot with your hand gestures feels futuristic — and in this project, we’ll make it real using Arduino Nano, MPU6050, and HC-12 wireless modules. You’ll wear a glove with an MPU6050 sensor that detects hand movements and sends commands wirelessly via HC-12 to control the car.
A wireless RC car that moves:
- Forward when your hand tilts forward
- Backward when your hand tilts back
- Left/Right when your hand tilts left/right
- Stops when your hand is level
Components Require:
| Component | Qty |
|---|---|
| Arduino Nano | 1 |
| MPU6050 Accelerometer + Gyroscope | 1 |
| HC-12 Wireless Module | 1 |
| Battery (3.7V LiPo or 9V) | 1 |
| Glove or hand strap | 1 |
| Jumper wires | — |
Receiver Side:
| Component | Qty |
|---|---|
| Arduino Nano | 1 |
| HC-12 Wireless Module | 1 |
| L298N Motor Driver | 1 |
| DC Motors + Wheels | 2 or 4 |
| Car chassis | 1 |
| Battery (9V or 12V pack) | 1 |
| Jumper wires | — |
How its Work :
MPU6050 detects the orientation of your hand.
Arduino Nano (Transmitter) reads sensor data and sends a command (F/B/L/R/S) via HC-12.
Arduino Nano (Receiver) receives the command via HC-12 and drives the motors using L298N.
MPU6050 Pinout:
| MPU6050 | Arduino Nano |
|---|---|
| VCC | 5V |
| GND | GND |
| SDA | A4 |
| SCL | A5 |
HC-12 to Nano:
| HC-12 | Arduino Nano |
|---|---|
| VCC | 5V |
| GND | GND |
| TX | D3 (to Nano RX) |
| RX | D4 (to Nano TX via voltage divider) |
Code——Transmitter Side:include
#include
#include
#include
MPU6050 mpu;
SoftwareSerial HC12(3, 4); // RX, TX
char command;
void setup() {
Serial.begin(9600);
HC12.begin(9600);
Wire.begin();
mpu.initialize();
if (!mpu.testConnection()) {
Serial.println(“MPU6050 connection failed!”);
while (1);
}
Serial.println(“MPU6050 ready.”);
}
void loop() {
int16_t ax, ay, az;
mpu.getAcceleration(&ax, &ay, &az);
if (ay > 10000) {
command = ‘F’; // Forward
} else if (ay < -10000) { command = ‘B’; // Backward } else if (ax > 8000) {
command = ‘L’; // Left
} else if (ax < -8000) {
command = ‘R’; // Right
} else {
command = ‘S’; // Stop
}
HC12.write(command);
Serial.println(command); // Debug
delay(100);
}
Receiver Side Code
Receiver Side : Arduino Nano + HC-12 + L298N
| HC-12 | Arduino Nano |
|---|---|
| VCC | 5V |
| GND | GND |
| TX | D3 (to Nano RX) |
| RX | D4 (to Nano TX via voltage divider) |
| L298N | Arduino Nano | Function |
|---|---|---|
| IN1 | D5 | Motor A1 |
| IN2 | D6 | Motor A2 |
| IN3 | D9 | Motor B1 |
| IN4 | D10 | Motor B2 |
| ENA/ENB | Jumper enabled | Motor Enable |
Receiver Coding:
#include
SoftwareSerial HC12(3, 4); // RX, TX
char command;
void setup() {
Serial.begin(9600);
HC12.begin(9600);
pinMode(5, OUTPUT); // IN1
pinMode(6, OUTPUT); // IN2
pinMode(9, OUTPUT); // IN3
pinMode(10, OUTPUT); // IN4
stopMotors();
}
void loop() {
if (HC12.available()) {
command = HC12.read();
Serial.println(command); // Debug
switch (command) {
  case 'F': moveForward(); break;
  case 'B': moveBackward(); break;
  case 'L': turnLeft(); break;
  case 'R': turnRight(); break;
  case 'S': stopMotors(); break;
}
}
}
void moveForward() {
digitalWrite(5, HIGH);
digitalWrite(6, LOW);
digitalWrite(9, HIGH);
digitalWrite(10, LOW);
}
void moveBackward() {
digitalWrite(5, LOW);
digitalWrite(6, HIGH);
digitalWrite(9, LOW);
digitalWrite(10, HIGH);
}
void turnLeft() {
digitalWrite(5, LOW);
digitalWrite(6, HIGH);
digitalWrite(9, HIGH);
digitalWrite(10, LOW);
}
void turnRight() {
digitalWrite(5, HIGH);
digitalWrite(6, LOW);
digitalWrite(9, LOW);
digitalWrite(10, HIGH);
}
void stopMotors() {
digitalWrite(5, LOW);
digitalWrite(6, LOW);
digitalWrite(9, LOW);
digitalWrite(10, LOW);
}
Power Supply
- Transmitter (Glove): 9V battery or LiPo with 5V regulator.
- Receiver (Car): 12V battery for motors and 5V regulator for Nano.
Testing
- Upload both codes.
- Power on both systems.
- Wear the glove and move your hand:
- Tilt forward → Car moves forward
- Tilt backward → Car reverses
- Tilt left/right → Car turns
- Keep hand flat → Car stops
for components Details visit